Setup WebHooks in RealHomes Theme to Get Push Notifications to Your Apps
RealHomes is the No.1 real estate theme on ThemeForest serving thousands of Realtors to grow their real estate business online. To facilitate its users an exciting new feature is added in version 3.11.0 to feed the data of agent, agency, and contact forms using WebHook.
In simple terms, a Webhook is basically a notification that is sent to a destination (URL) when an event occurs. Using agent, agency, or contact forms you can send a form submission to a URL or a third party web application of your choice as soon as a successful submission occurs.
Configuring WebHook in RealHomes Theme is super easy. In the first step, we will create Webhook using Zapier and in the second step, we will send the received data to Zoho CRM. Ensure that the RealHomes Theme and Easy Real Estate Plugin are installed and active on your website before proceeding with this guide. So let us get started.
STEP 1 – Creating WebHook
Login to zapier to create a WebHook to receive forms data. After login, look for Make A Zap button in the dashboard and click.

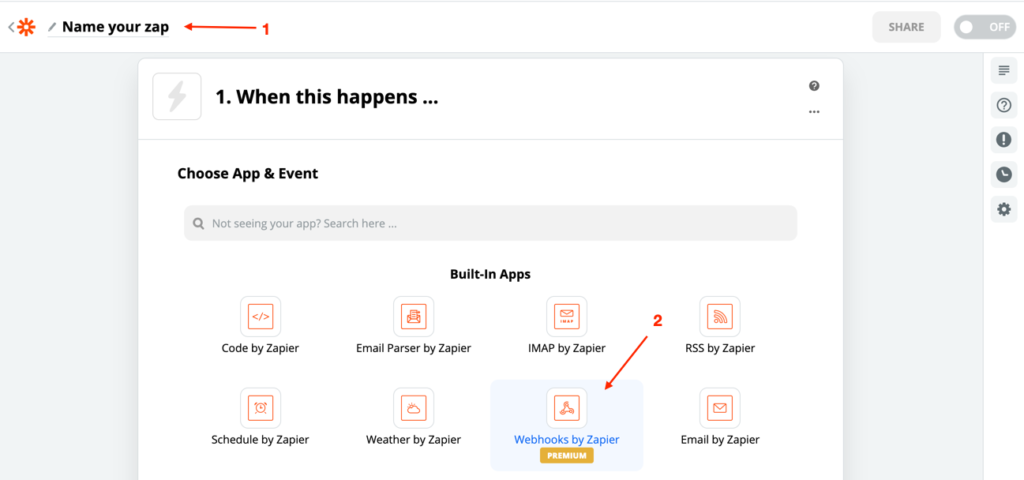
Give a name to the zap you want and click on WebHooks by Zapier.
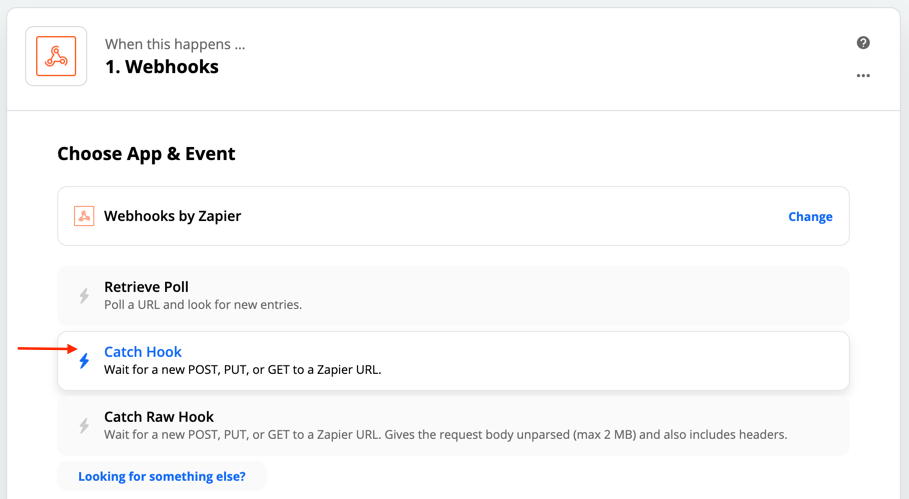
Choose the Catch Hook and click continue.
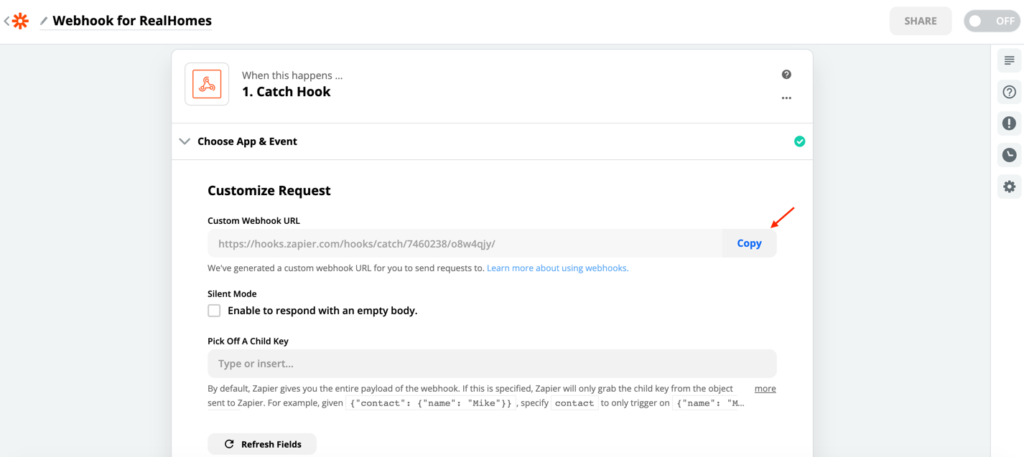
Now copy the Custom Webhook URL and click continue.
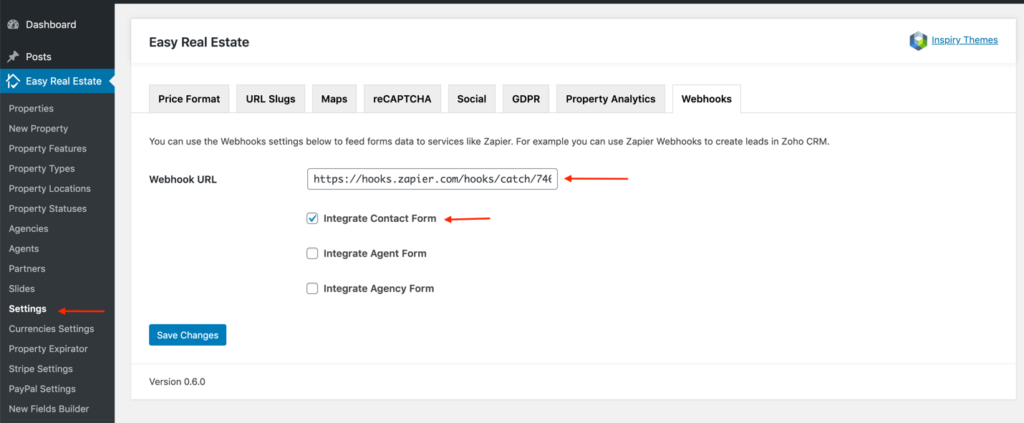
Navigate to Dashboard → Easy Real Estate → Settings → Webhooks tab and paste the copied URL in the Webhook URL field. Choose the forms of your choice to feed the data and click the Save Changes button.
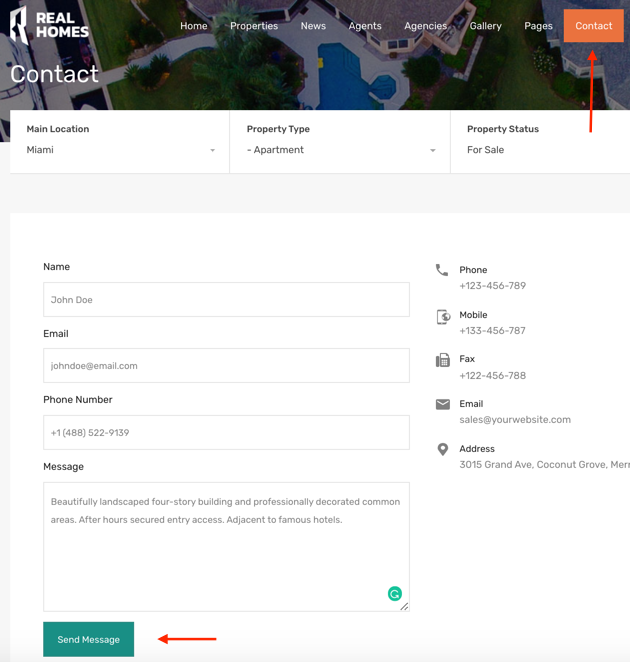
After saving the changes we can now test the webhook for the first time. We will use the contact form to send test data. Fill the form with the required information and press the Send Message button.
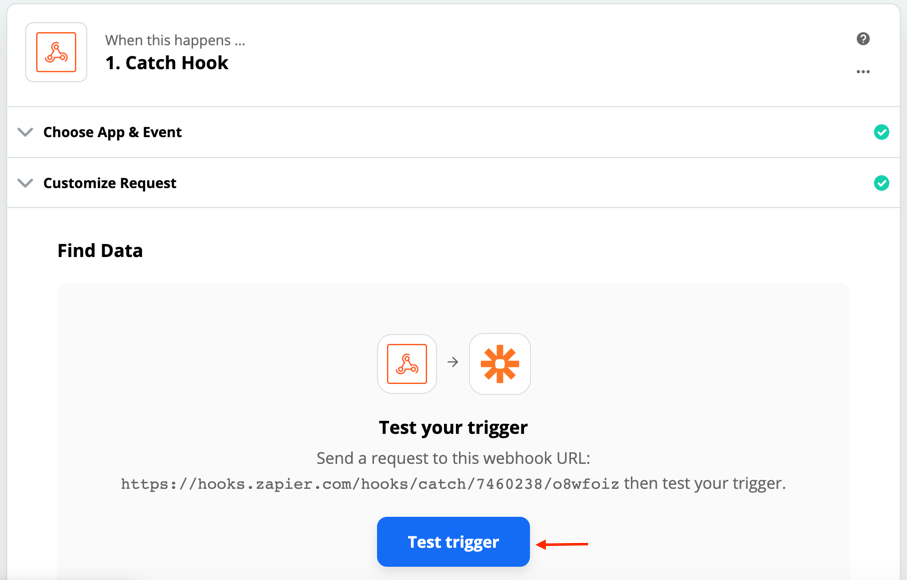
Press the Test trigger button to received the test data.
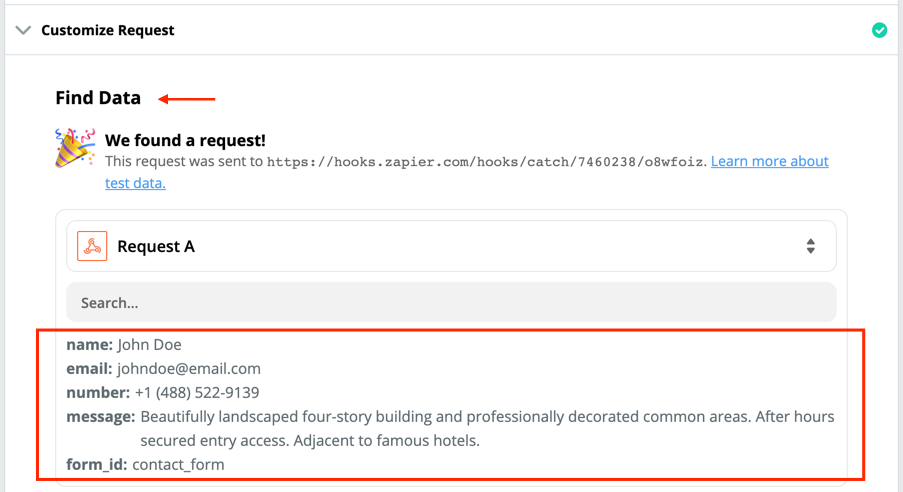
The received data will look like this. Click the continue button to finish the first step.
STEP 2 – Setup Zap Action App
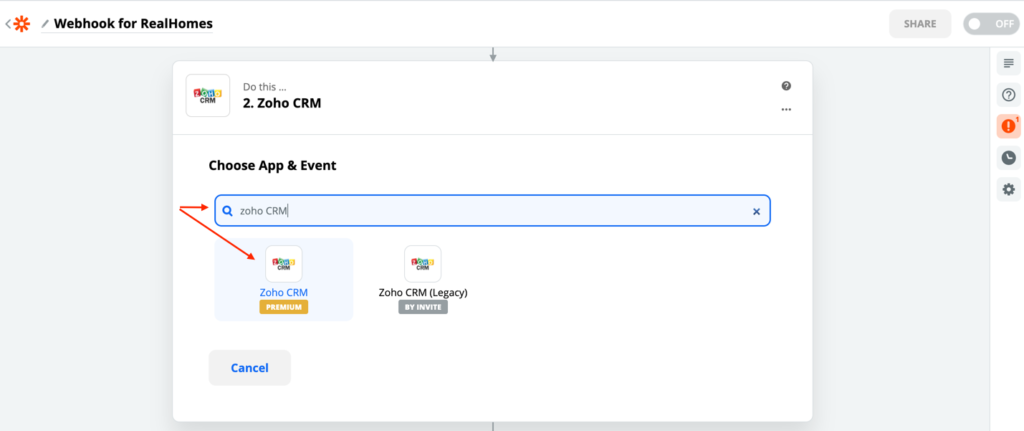
An action is a job your Zap performs when your trigger event occurs. We will use Zoho CRM app to generate new leads. Search for the Zoho CRM in Choose App and Event.
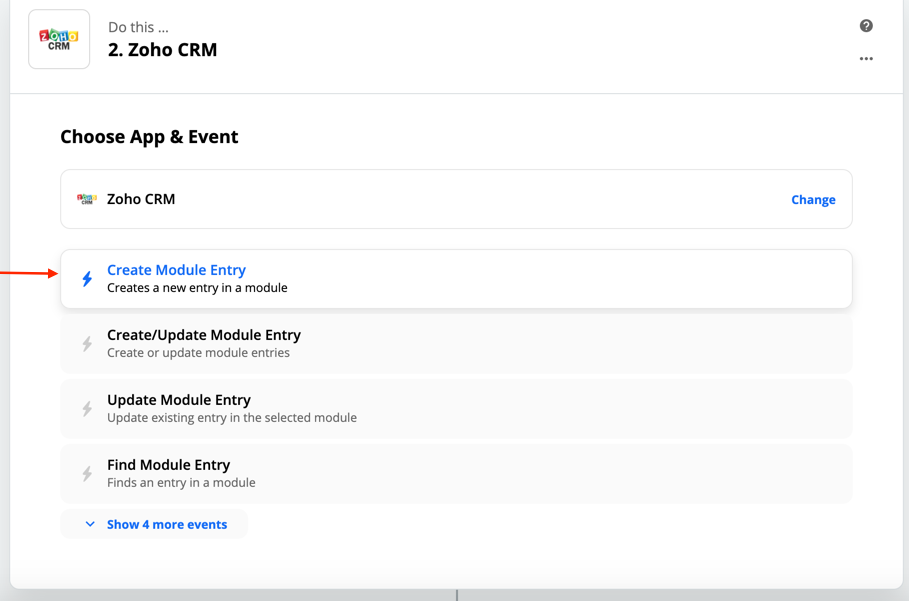
Select Create Module Entry and click continue.
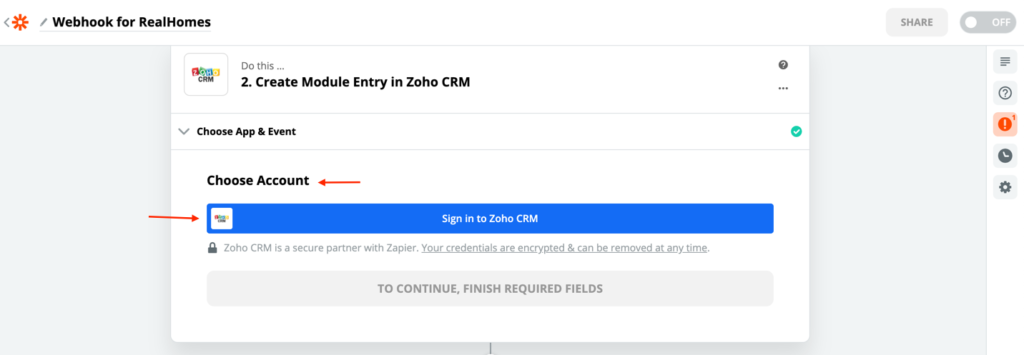
Connect your Zoho account.
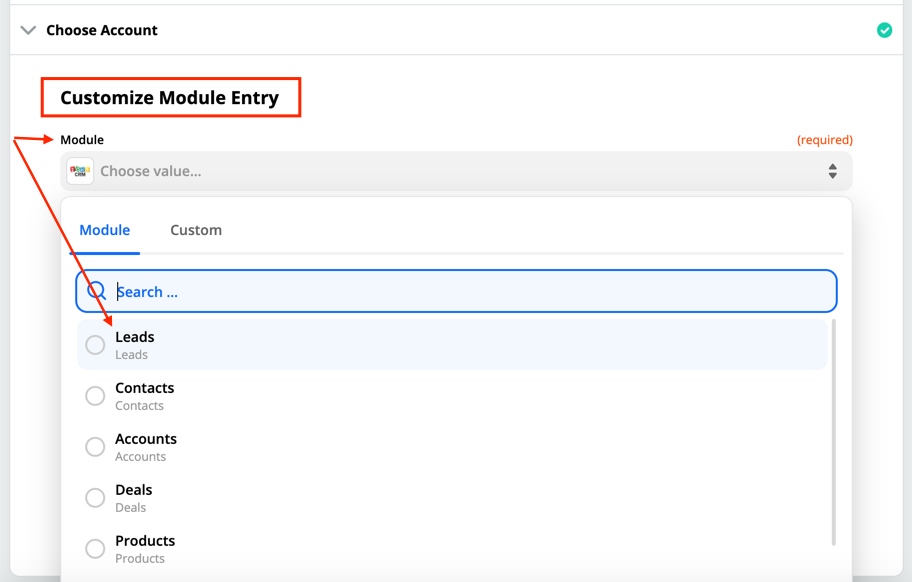
Choose Leads module.
Choose Standard layout.
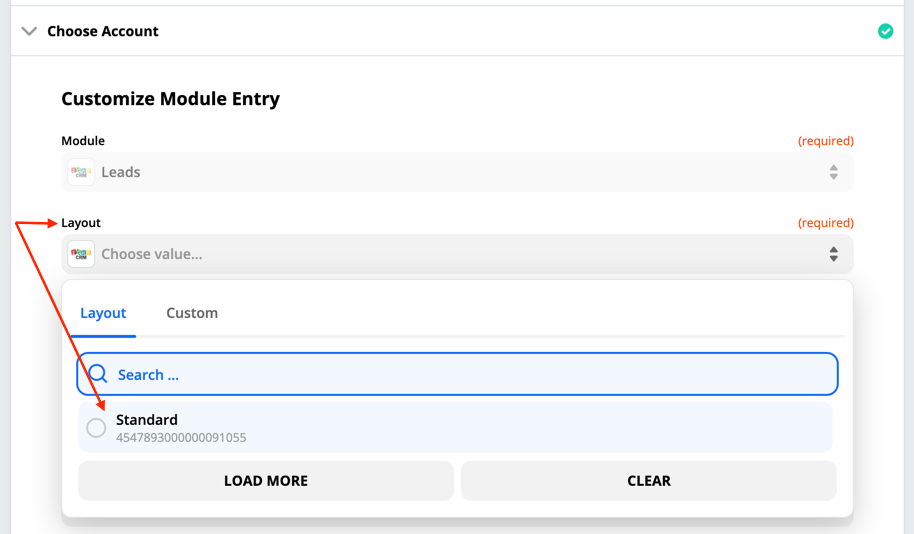
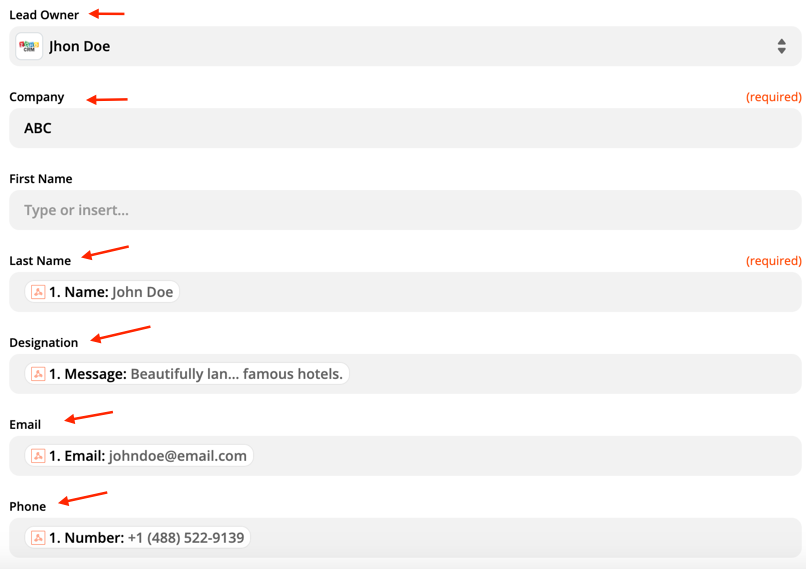
Next, customize the data that you want to send over to Zoho CRM.
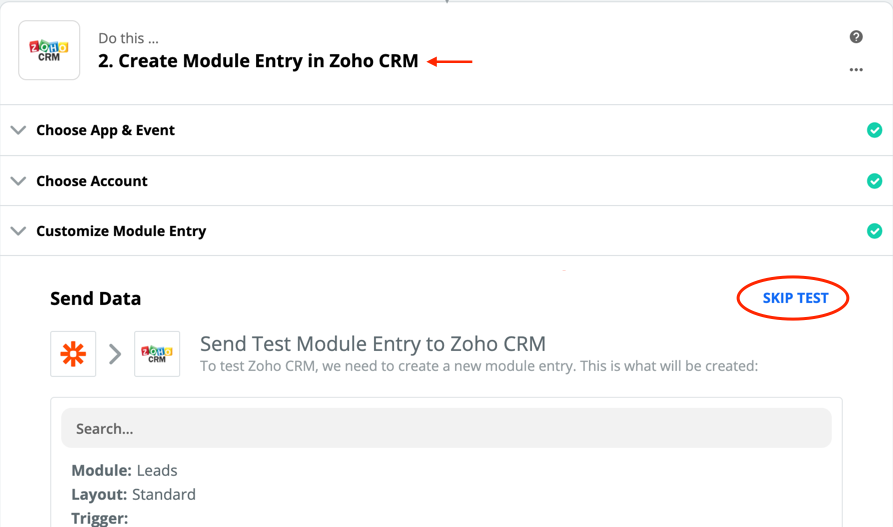
The final step is to see if your action works as expected. The first screen will show you the data input for your action—that’s the data that’s being sent to your action app. Click Test & Continue or skip the test.
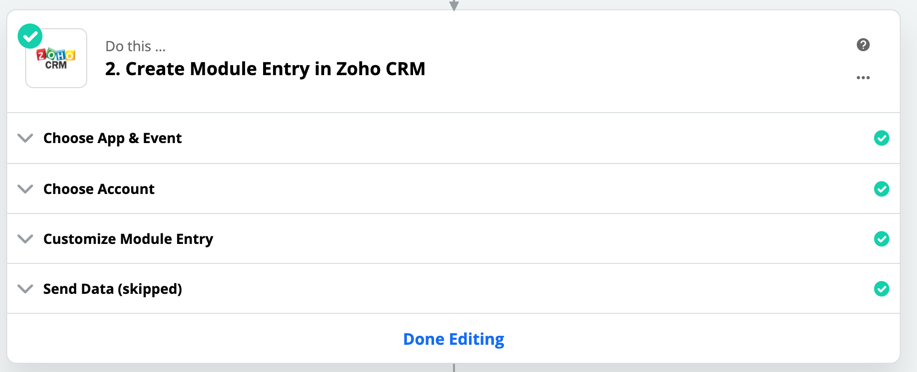
Click Done Editing to finish the step two.
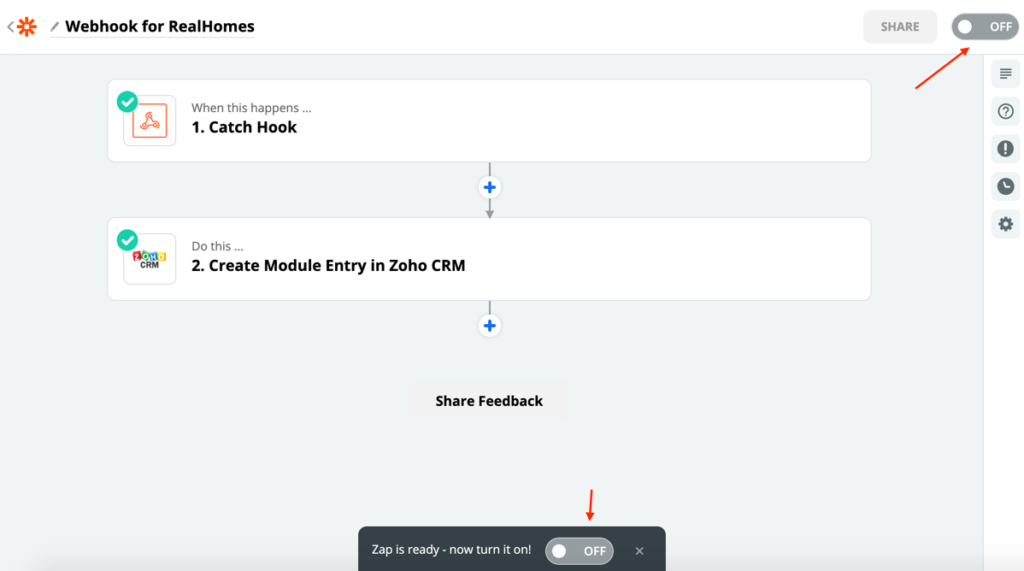
Turn on the Zap so that the data can be sent to Zoho CRM automatically.
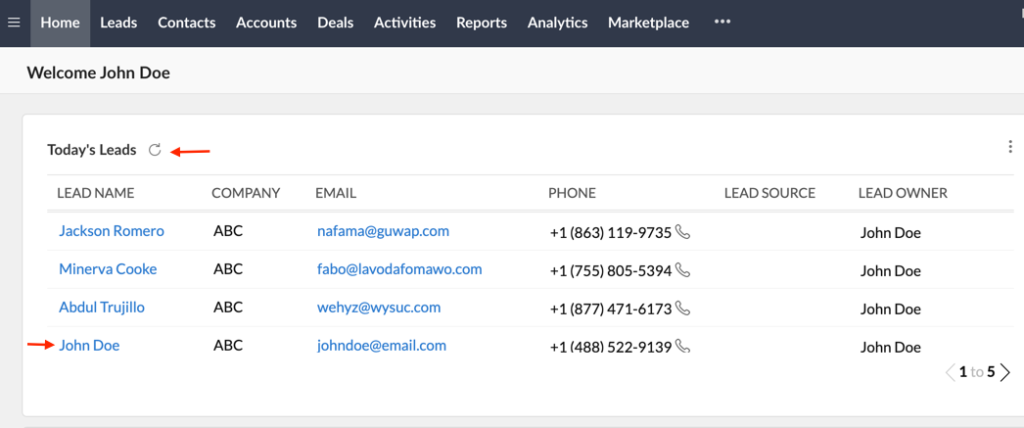
On Zoho CRM dashboard the received data will look like this.
That’s all.
